

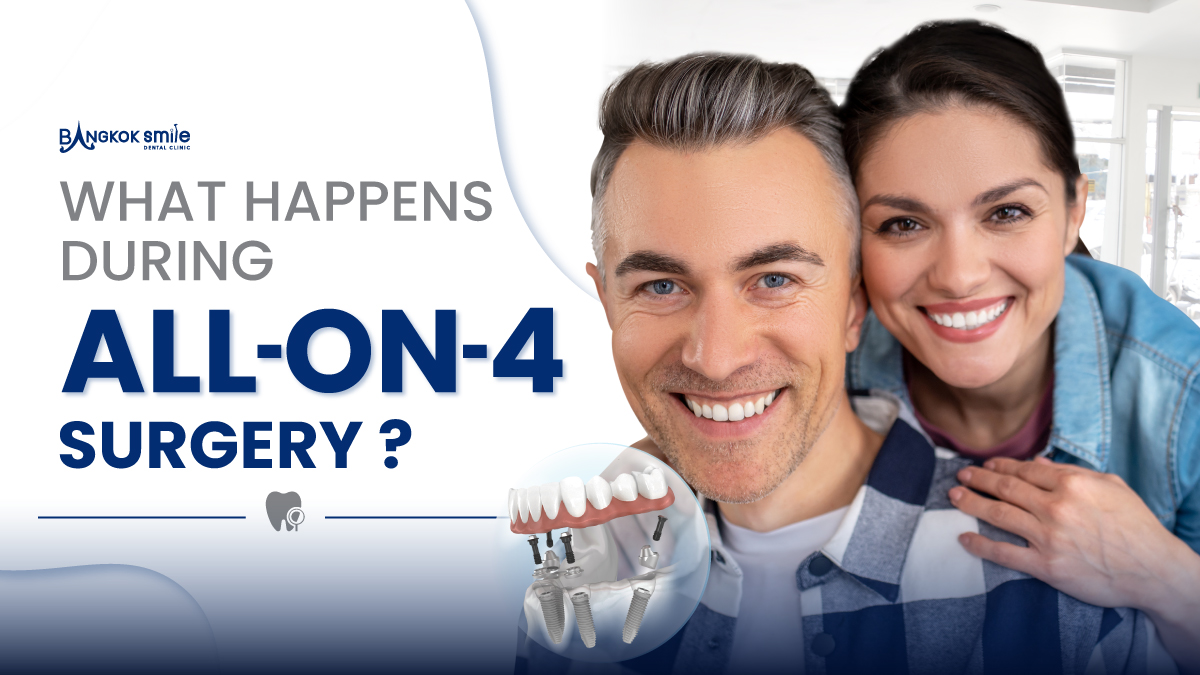
What actually happens during All-on-4 surgery? Patients understandably want to know before committing to travel for it, and most general descriptions online stay vague: implants get placed, a bridge gets attached, end of story. Here’s a more complete walkthrough of what actually happens, step by step, during a typical procedure.
Before Anesthesia: Final Confirmation
Before any anesthesia is administered, we do a final review of the treatment plan built from the 3D scan completed during evaluation, confirming implant positions, checking that the planned approach still matches the patient’s current presentation, and answering any last questions. For patients who haven’t already had blood pressure and other basic vitals checked that day, this happens here as well, a standard precaution before any surgical procedure.
Anesthesia and Sedation
Surgery is performed under local anesthesia, numbing the surgical area directly, with sedation available for patients who prefer additional comfort during the procedure. The choice between local anesthesia alone and added sedation is discussed in advance based on patient preference and any relevant health considerations; some patients are entirely comfortable with local anesthesia and prefer to remain fully alert throughout, while others, particularly those with significant dental anxiety, opt for sedation to make the experience less stressful. Either way, the area being treated is fully numb before any incision or implant placement begins.
Removing Remaining Teeth, If Needed
For patients who still have some natural teeth that are failing or unsuitable for restoration, these are extracted first, as part of the same surgical session. The sockets are then prepared, and any necessary minor bone shaping is done to create an appropriate surface for the implants that follow. For patients who are already edentulous or have minimal remaining teeth, this step is shorter or skipped entirely, which is part of why treatment time varies meaningfully from patient to patient.
Placing the Four Implants
This is the core of the procedure and the part the Maló protocol’s specific design addresses directly. Two implants are placed vertically toward the front of the jaw, in the area that typically retains the most stable bone even after years of tooth loss. The remaining two implants are placed at a deliberate angle, generally between 30 and 45 degrees, toward the back of the jaw, positioned to reach denser bone further along the arch while navigating around anatomical structures like the maxillary sinus in the upper jaw or the nerve canal in the lower jaw that limit straight vertical placement in patients with reduced bone height.
The precision of this placement is guided by the surgical plan built from the 3D scan, and in many cases supported by a surgical guide, a custom template that helps position each implant exactly where it was planned, reducing variability and improving predictability compared to placement based on visual judgment alone during surgery.
Confirming Implant Stability
Once all four implants are placed, we assess their initial stability, essentially how securely each implant is anchored in the bone at this early stage, before deciding whether immediate loading with a provisional bridge is appropriate for this specific patient on this specific day. This is a clinical judgment made in the moment based on the actual bone response during placement, not assumed in advance purely from the pre-surgical scan, which is part of why we don’t guarantee same-day loading with absolute certainty before surgery, even in patients who appear to be excellent candidates beforehand.
Attaching the Provisional Bridge
In the large majority of eligible cases, a pre-fabricated or same-day-adjusted provisional bridge is then attached to the four implants using a connection system designed for this purpose, creating a fixed, functional set of teeth before the patient leaves the clinic or, in some cases, the following morning after a final check. This bridge is designed to handle normal function during the soft-diet period that follows, while protecting the implants during the early stages of integration with the surrounding bone.
Closing and Initial Recovery
Once the bridge is attached and checked for fit and bite alignment, any necessary sutures are placed, and the patient moves into a recovery area for monitoring before being discharged with detailed aftercare instructions, covering diet, oral hygiene around the new bridge, pain management, and warning signs that would warrant contacting us immediately rather than waiting for a scheduled follow-up.
How Long the Entire Procedure Takes
Total surgical time varies considerably based on how many teeth need extraction, whether any minor bone shaping or a small graft is needed at implant sites, and the complexity of each individual jaw, but a typical All-on-4 procedure for one arch generally takes a few hours from start to finish. Patients having both upper and lower arches treated in the same session should expect a correspondingly longer total appointment, sometimes split across the same day or, depending on the case, across two consecutive days.
What Patients Consistently Say Afterward
Despite how detailed and significant this procedure sounds when described step by step, patients consistently describe the actual experience as far more manageable than they anticipated, largely because local anesthesia and, where used, sedation keep the procedure itself comfortable, and because the precision of planning from the 3D scan beforehand reduces surgical time and unnecessary tissue disruption compared to surgery planned without that level of detail. The discomfort that follows in the days after tends to be the more noticeable part of the experience, not the surgery itself, which is consistent with what we’d expect from a well-planned procedure performed under appropriate anesthesia.
If you’re preparing for this surgery and want a clearer sense of what your specific case will involve, including realistic timing for your particular jaw and any extractions needed, the most useful next step is sending your recent dental X-rays so we can give you a more specific walkthrough rather than a general description that may not reflect your exact situation.
What We Monitor in the Hours Immediately Afterward
Before discharge, patients spend some time in a recovery area where we monitor for any immediate concerns, unusual bleeding, signs of an adverse reaction to anesthesia, or significant discomfort that hasn’t responded to initial pain management. This monitoring period is typically brief for most patients, but it’s an important safety step we don’t skip regardless of how routine a given case appears. We also use this time to do a final check of the bite and bridge fit while the patient is still in the clinic, since any adjustment is far easier to make immediately than after the patient has left and the anesthesia has fully worn off.
Why Surgical Guides Matter More Than They Sound
The custom surgical guide mentioned earlier deserves a bit more explanation, since it’s one of the less visible but more important parts of how precision is achieved during the procedure. Built directly from the patient’s 3D scan, the guide fits over the jaw during surgery and physically directs the angle and depth of each implant placement, removing much of the variability that would otherwise depend purely on the surgeon’s real-time visual judgment during a procedure where millimeters genuinely matter, particularly for the angled posterior implants that need to thread carefully around the sinus or nerve canal. Not every clinic uses this level of guided precision for every case, but for complex bone situations especially, it meaningfully improves the consistency of implant placement compared to freehand technique alone.
Ready to Find Out If All-on-4 Is Right for You?
Book a consultation today to discuss your smile goals and receive a personalised treatment plan from our experienced implant team: https://www.bangkokinterdental.com/contact/